ERPNext is an open source ERP business system that is used by many enterprises as it supports manufacturing, distribution, retail, trading, services, education, nonprofits, and healthcare. In this article, we will see how to set up an eCommerce website using ERPNext.
Website Settings
For an eCommerce business to be started, a website is the most necessary thing to communicate with the customers and vendors. So the website should depict the needs of the customer in terms of both information and queries. So let’s start with the website settings. To go to website settings, in the search bar from the desktop view.
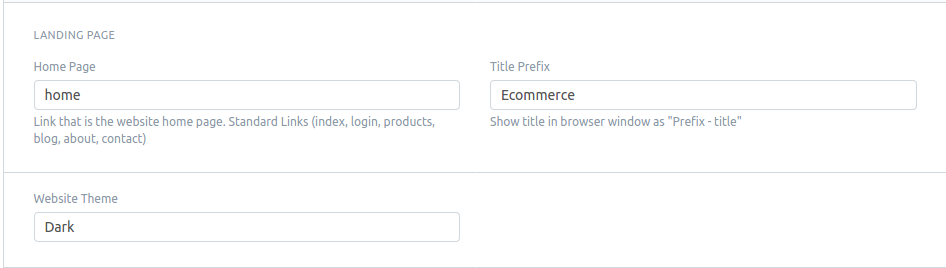
Here we can set the homepage name and the title prefix name to look in the website tab. Now we set homepage as home and title prefix as E-commerce. We are also able to set a theme for the website as standard or customized.
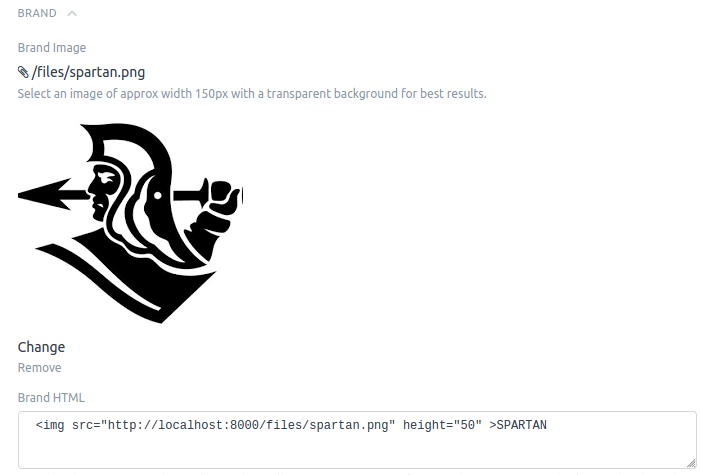
In the brand section, we can set a logo for our website in brand image, and we can set how it can be looked at as in it by using the brand HTML.
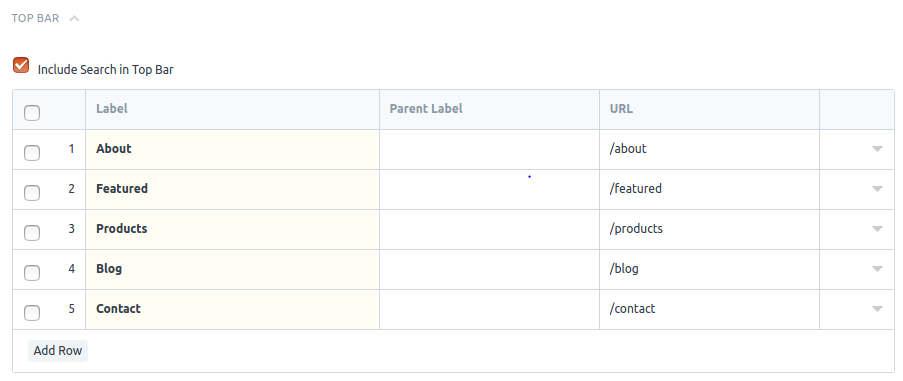
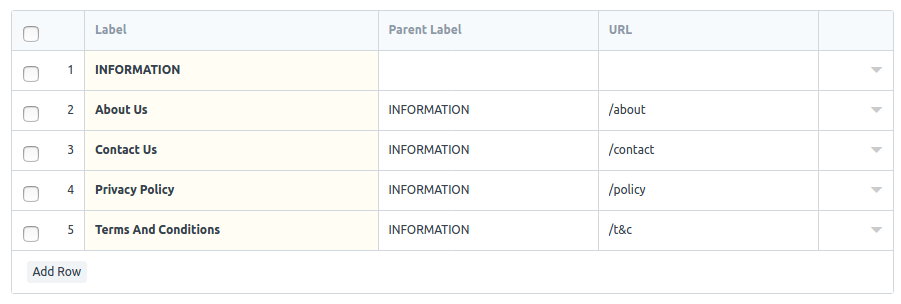
In the top bar section, we can add the label names, and also we can add a search bar on the website.
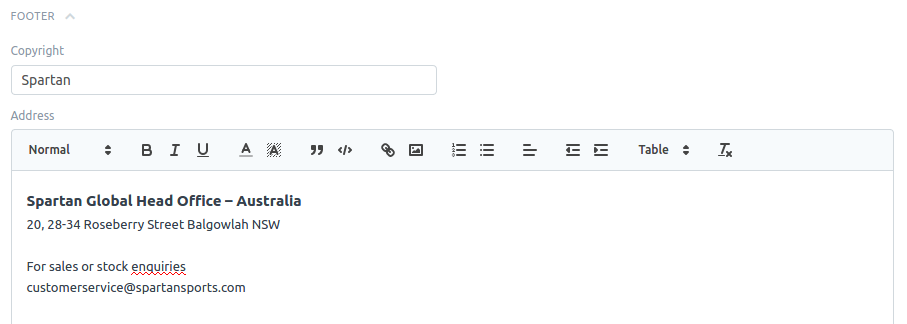
We can add copyrights of the company and its address in the footer section. And also, we can add label names in the footer section.
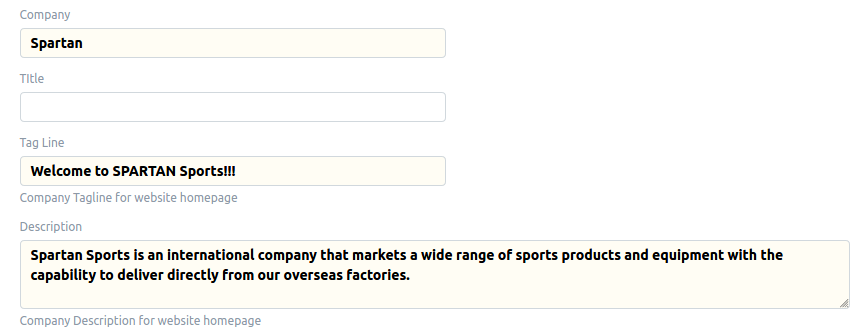
Homepage Settings
Homepage settings in ERPNext are used to visualize the company name, its tagline, and its description to give a professional view of the company.
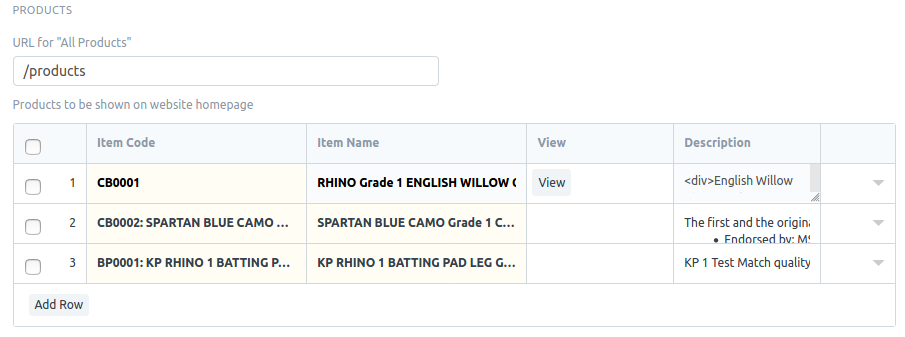
Here we can customize the products to be featured in the homepage view of the website.
Item List
We can add our products to the item list. Click a new item in the item list to create a new product. Here we can enter the details of the product, such as the item name, price, and stock details.

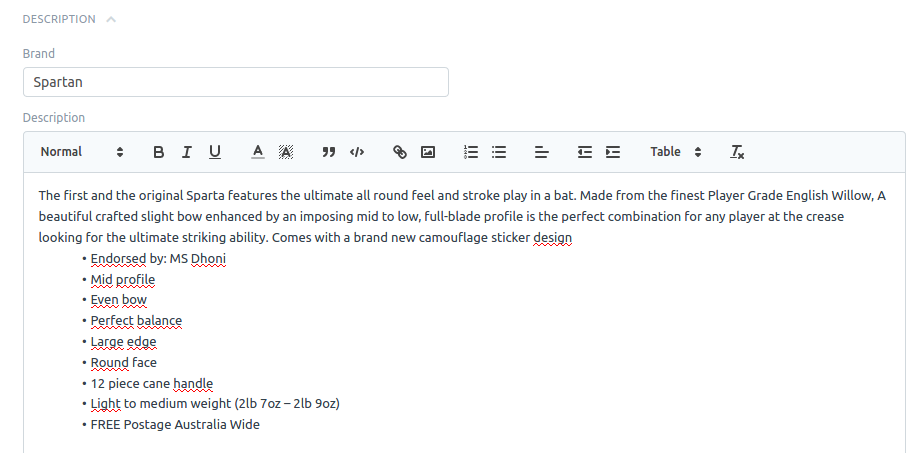
In the description section, we can add the item’s brand and the details of the item to show on the product page.
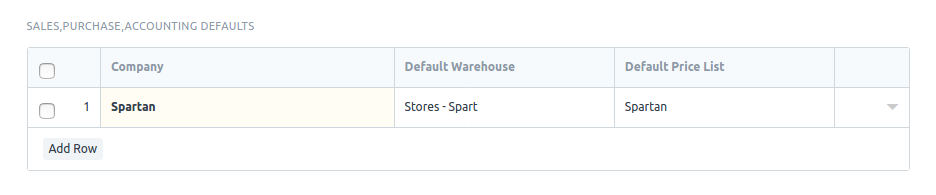
We can include the company’s item and its default warehouse details in the sales, purchase, accounting defaults for the reorder of the items in case the deficiency of the items.
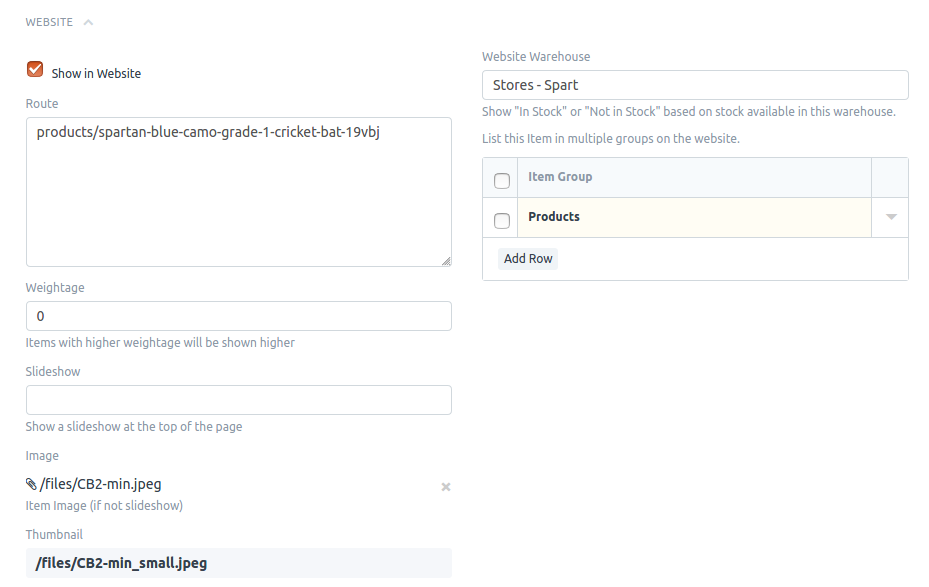
In the website section of the item list, we can check the show’s box on the website or make avail of the details of the product in the inner section only. We can add images of the item here, and we have to include the website warehouse.
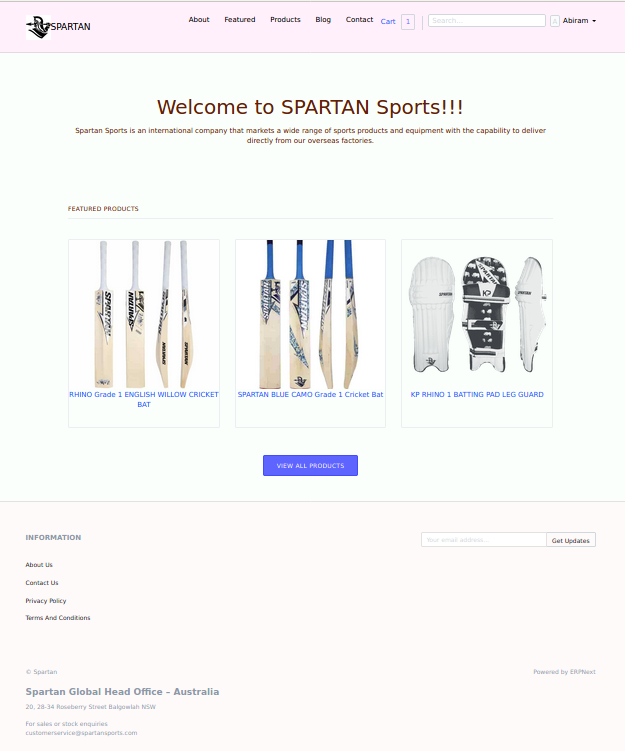
From the steps mentioned above, we can create a new eCommerce website as follows. This is the home page view of the website we created in the ERPnext. Here the labels we assigned in the top bar, and the logo are in the top rows followed by the products we customized as featured. Also, there is a footer section representing the company and its details.
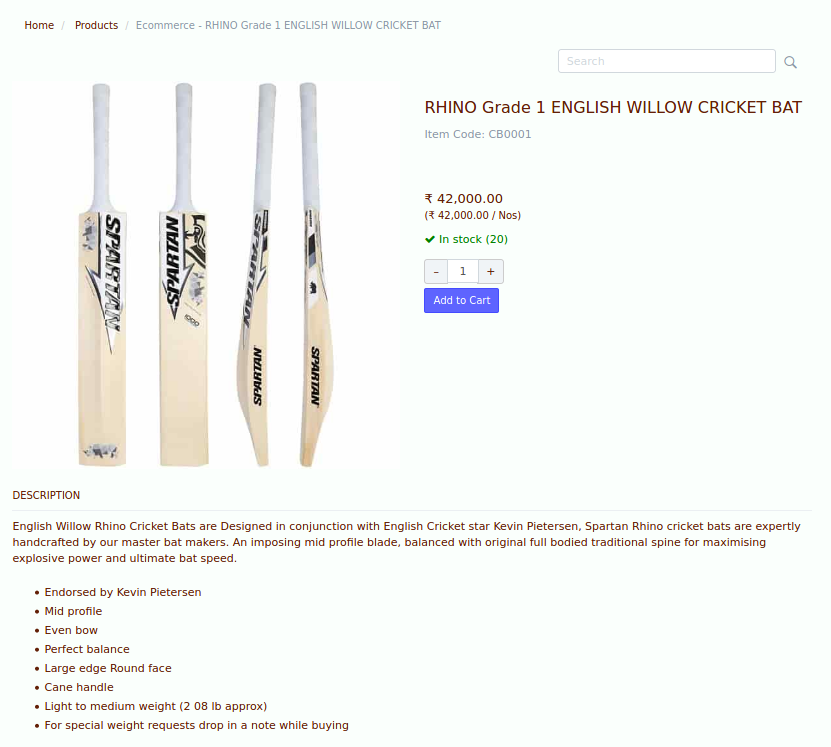
We can also have a view of products on how it can be shown on the products page of the website. Here we can see the stocks, price, variants, and description of the products.
We can also add a payment gateway system and third-party SMS provider in ERPNext to avail of the support to the customers.
Conclusion
ERPNext provides a simple and accessible way to create a website not only for eCommerce but also in management, education, and healthcare. We can also make CRM in ERPNext to manage clients and their support in a more efficient way.