Google AdMob is the effective & most popular mobile advertising platform that let’s developers to monetize their android. iOS apps with variety type of ad format. It is very useful particularly when you are publishing a free app and want to create revenue through the ad impressions. Alongside, Integrating AdMob is such an easy task that it”s just takes few minutes to integrate it in app.
Types Of Ad’s In AdMob
Import The Ads SDK
Follow the below step to import Ads SDK,
Add The Dependency Mobile Ads SDK
You can add your dependency mobile ads SDK to your build.gradle file and here is the below implementation sdk.
Implementation ‘com.google.firebase:firebase-ads:17.1.2’

How To Setup Your App In AdMob
Before everything, we need to initialize the Mobile Ads SDK and you can create your AdMob APP ID using following method.
1. Go to apps.admob.com and sign in using your Google account that is connected with your active AdSense account.

2. Select the app status, it’s published or not.
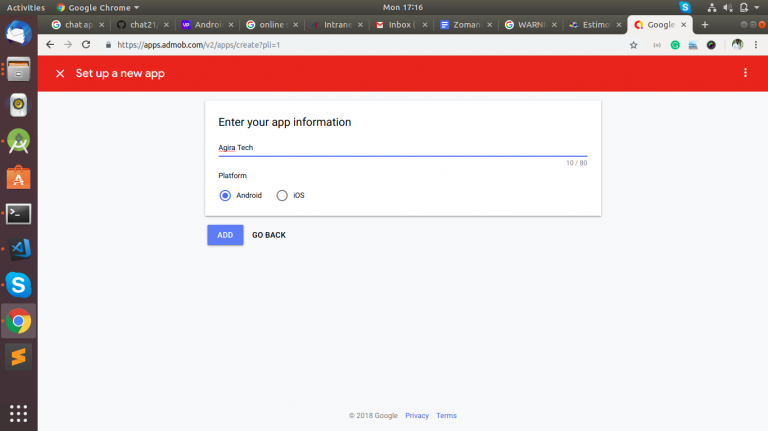
3. Enter the app information and platform
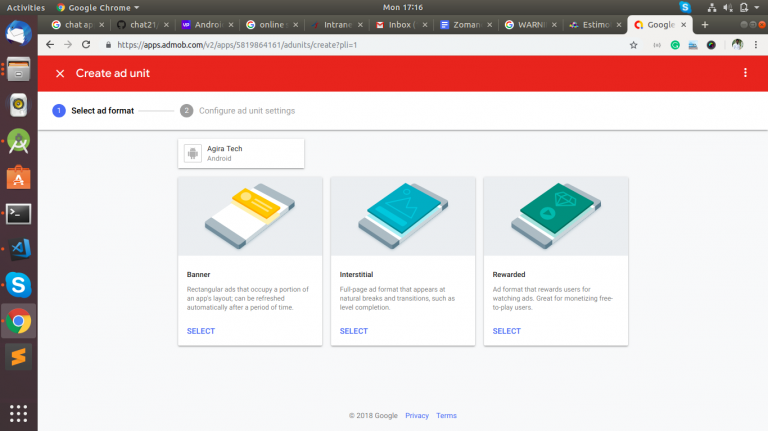
4. Configure the app unit setting
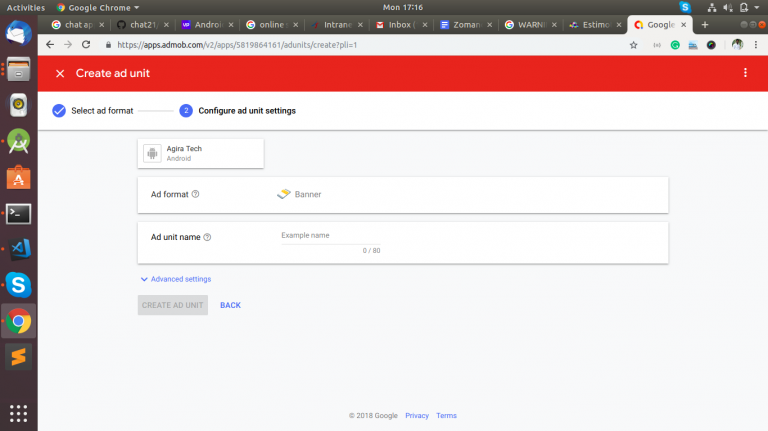
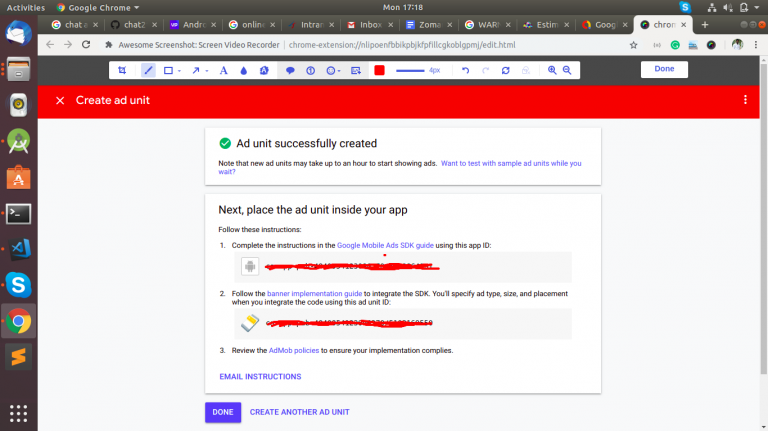
5. Now you can see the successfully configured app ID of app unit.
Growth Hacks: How We Improved Our Team’s Productivity By Automating Things
Configure Google Play Services In Android Studio
Step1: Open build.gradle file from Android studio and add play services dependency as AdMob requires it.
Step2: Add this SDK implementation ‘com.google.android.gms:play-services-ads:17.1.2’
Step3: Find AndroidManifest.xml file and add your AdMob App ID with in the <meta-data> tag as i mentioned below.
<manifest>
<application>
<!-- Sample AdMob App ID: ca-app-pub-3940256099742584~3347511715 -->
<meta-data
android:name="com.google.android.gms.ads.APPLICATION_ID"
android:value="[ADMOB_APP_ID]"/>
</application>
</manifest>
Best Read: Top 15 Productivity Tools That Help You To Save 10X More Time
Initialize AdMob SDK In “onCreate”
Step 1: Use the below code in your onCreate method to intialize AdMob SDK
@Override
protected void onCreate(Bundle savedInstanceState) { super.onCreate(savedInstanceState);
// Sample AdMob app ID: ca-app-pub- 3940256099742584~3347511715
MobileAds.initialize(this, "YOUR_ADMOB_APP_ID");
AdView mAdView = findViewById(R.id.adView);
         AdRequest adRequest = new AdRequest.Builder().build();
         mAdView.loadAd(adRequest);
}
This should be done before showing any kind of ads.
Step 2: Adding Banner Ad
We can load the ads in any activity/fragment file, have to use Adview in layout.xml and add the following code in it.
<RelativeLayout xmlns:android="http://schemas.android.com/apk/res/android"
       xmlns:tools="http://schemas.android.com/tools"
       android:layout_height="match_parent"
       android:layout_width="match_parent">

       <com.google.android.gms.ads.AdView
           xmlns:ads="http://schemas.android.com/apk/res-auto"
           android:id="@+id/adView"
           android:layout_width="wrap_content"
           android:layout_height="wrap_content"
           android:layout_centerHorizontal="true"
           android:layout_alignParentBottom="true"
           ads:adSize="BANNER"
           ads:adUnitId="ca-app-pub-3940250099952544/6307978111">
       </com.google.android.gms.ads.AdView>

</RelativeLayout>
Here you can see the adUnitId and adSize. AdUnitId used to identify your single ad unit. It’s necessary to use test ID when you’re developing/testing an app and you can use your real ID when you’re using production environment. Because, AdMob policies don’t allow developer to click on the own live ads while testing. If you click your own ads multiple times then google may suspend your AdMob account ID.
Step 3: Enabling Test Ads In Android
In development, you can protect your account using test ads . For that, you need to provide your testing device id, here I have added my device id like addTestDevice(“CF15C925D76D558BF8863B09EA03E139 “) and if you are testing an app on emulator then you can use this add.addTestDevice(AdRequest.DEVICE_ID_EMULATOR).
Step 4: Enable Your Device Id In onCreate
You can get your testing device ID from logcat and paste the complete code in onCreate as shown below,
mAdView = view.findViewById(R.id.adView);
AdRequest adRequest = new AdRequest.Builder()
       .addTestDevice("CF15C925D76D558BF8863B09EA03E139")
       .build();
mAdView.loadAd(adRequest);
Step 5: Listening Ad Events With AdListener
Ad listeners events are very useful to analyse every action that are triggered in ad’s and also to perform the very next action when ad’s are closed/ opened in an application.
Below are the ad listeners which you can use it to notify your app when ad changes its state or any action triggered.
Step 6: Add The Following Code Into MainActivity.java In Android
mAdView.setAdListener(new AdListener() {
   @Override
   public void onAdLoaded() {
   }
   @Override
   public void onAdClosed() {
   }
   @Override
   public void onAdFailedToLoad(int errorCode) {
    }
   @Override
   public void onAdLeftApplication() {
   }
   @Override
   public void onAdOpened() {
   }
});
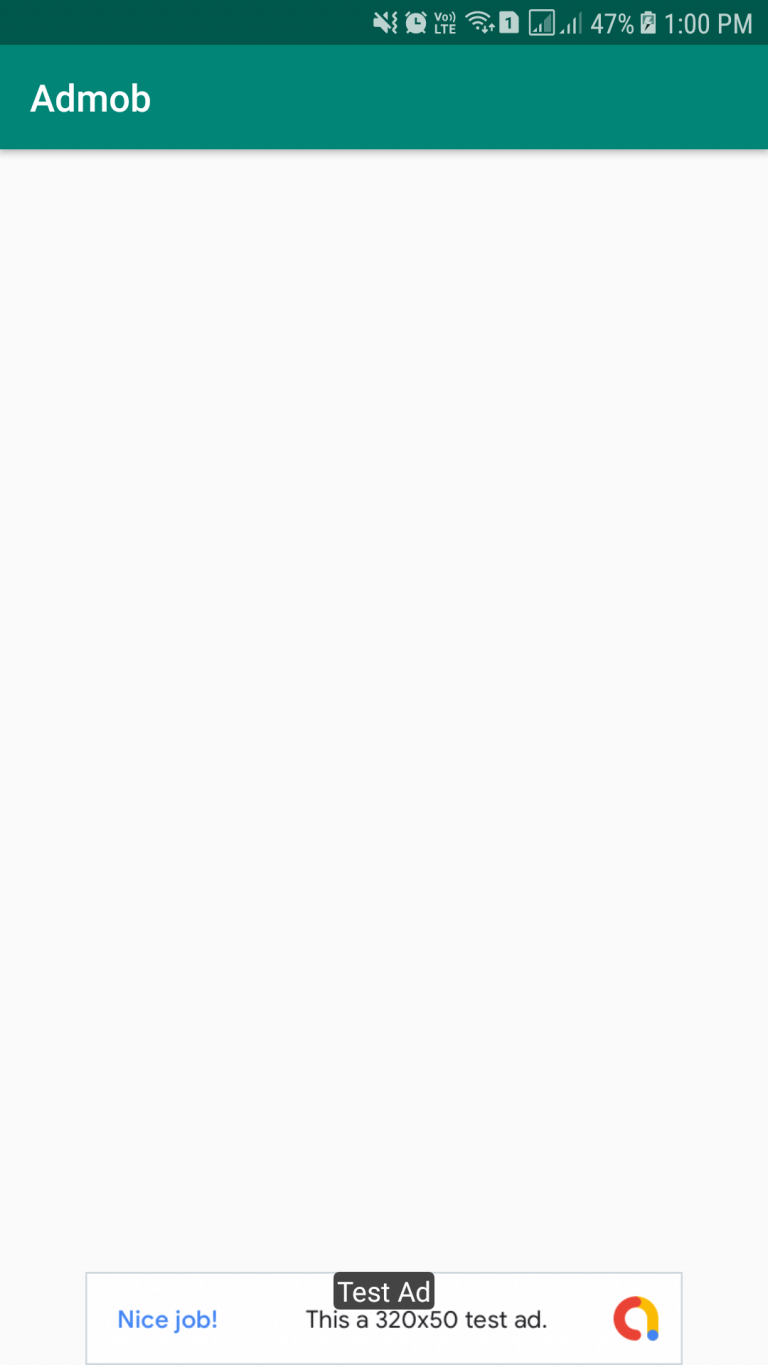
Now you can see the success screen of Test Ad.
All set!!! We have done with integrating Google ADMob in Android. Hope you can start doing your mobile advertising henceforth. Likewise you can do it for iOS also. Let us know your comments & queries below. We love to hear from you!
[contact-form-7 404 "Not Found"]